You spent two hours making a loaf — mixing, shaping, watching it rise, pulling it from the oven at the right moment. By the next morning, the crust has softened and the crumb feels dry. Homemade bread stales faster than store-bought, and the reason has nothing to do with what you did wrong. It comes down to what’s not in your loaf. Here is everything you need to know about how to store homemade bread without losing the crust or crumb.
If you’re figuring out how to store fresh baked bread that just came out of the oven, the first step is patience — let the loaf cool completely before wrapping or bagging it.
Here’s what actually works for storing it.
The Short Answer
The best way to store homemade bread is at room temperature in a breathable bag or clean cloth, with the cut side protected. Because homemade bread contains no preservatives, it stales faster than commercial bread. Avoid the fridge unless mold is the bigger concern. For anything you won’t eat soon, slice and freeze it.
How Different Storage Methods Affect Homemade Bread
| Method | Duration | How It Works / Tradeoffs |
| Room temp — unwrapped | Very short term | Crust stays crisp briefly, but moisture evaporates quickly; crumb dries fast |
| Room temp — beeswax-lined cotton bag | Short to medium term | Helps slow moisture loss while allowing some airflow; may preserve crust texture better than sealed plastic |
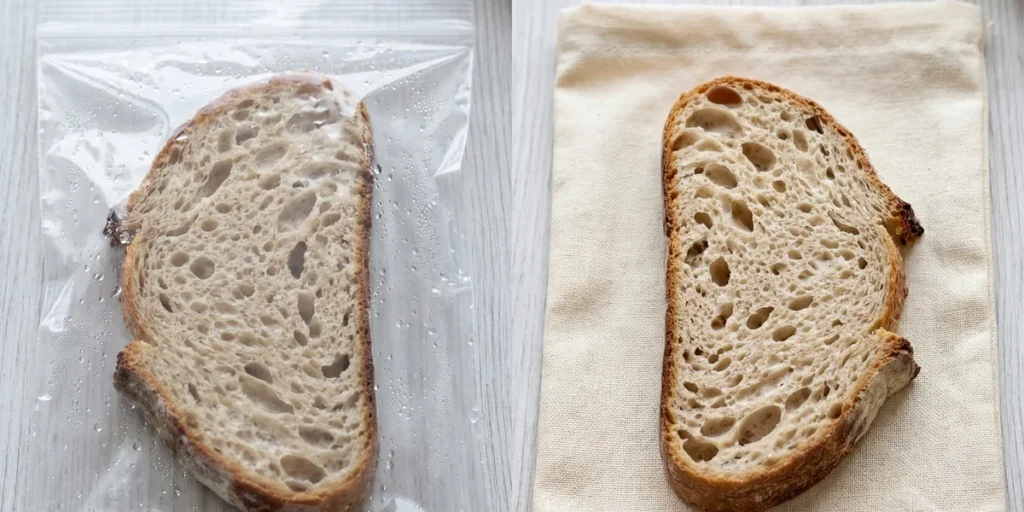
| Room temp — plastic bag | Short term | Traps humidity against the crust; crust softens, condensation can form inside bag |
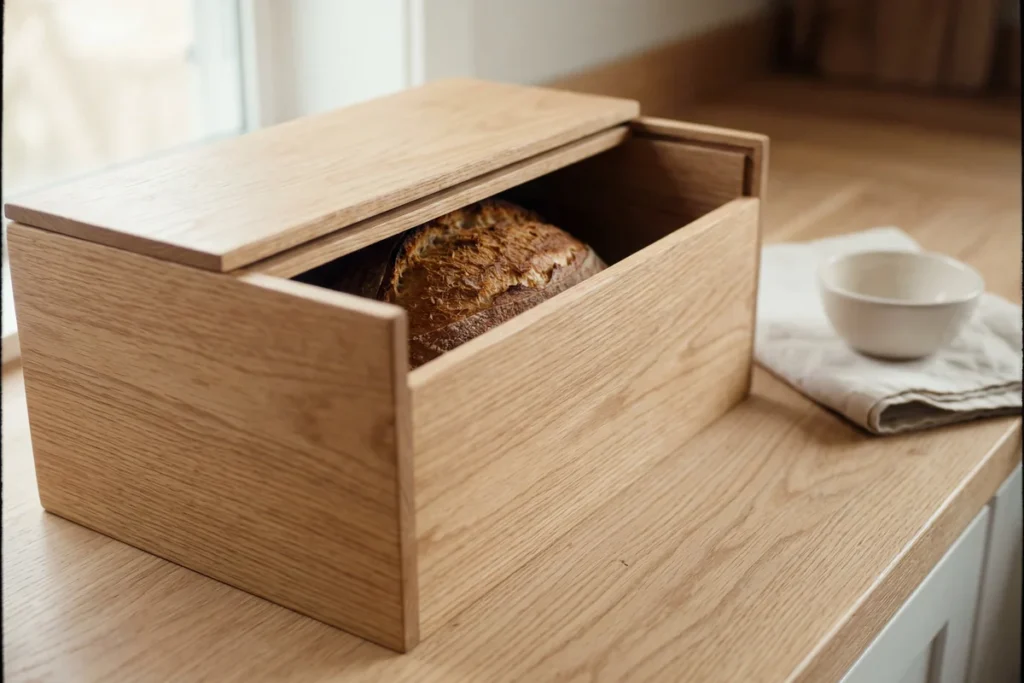
| Bread box | Short term | Enclosed counter storage with some airflow; results depend on box design, kitchen humidity, and loaf type |
| Refrigerator | Extended (texture changes) | Can slow mold growth in some conditions; accelerates staling through starch retrogradation; crust hardens, crumb dries |
| Freezer (sliced first) | Long-term | Slows staling dramatically; requires thawing or toasting; best option for batch baking |
| Room temp — cloth or linen wrap | Short term | Breathable; slows moisture loss without sealing in humidity; may dry faster in low-humidity conditions |
Room Temperature, Fridge, or Freezer — Which Makes Sense for Homemade Bread?
Room Temperature Storage
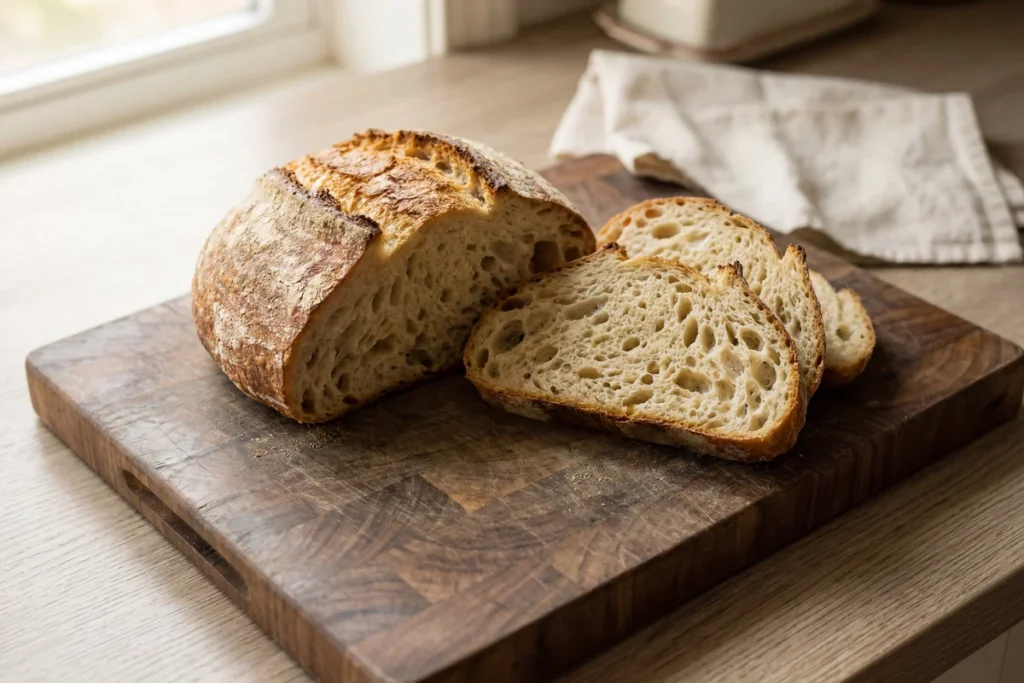
Knowing how to store homemade bread at room temperature starts with two practical rules. First, let the loaf cool completely before storing — at least one hour, ideally two. Storing warm bread traps steam inside the bag or wrap, which can make the crust soggy and create conditions where surface mold develops faster. Second, store cut-side down on a wooden board, or seal the cut end against itself inside a bag, so the exposed crumb loses moisture more slowly.
Breathable materials — linen, cloth, or beeswax-lined cotton — allow controlled airflow while slowing evaporation. This keeps the crust in better condition than plastic, which traps humidity and can make the exterior feel damp while the interior dries out.
A bread box for homemade bread can also make sense if your kitchen is dry and you want a simple counter-storage option. It creates a slightly enclosed environment while still allowing more airflow than a sealed plastic bag. The limitation is that most bread boxes don’t control moisture as directly as a cloth wrap or beeswax-lined cotton bag, so results can vary depending on kitchen humidity and loaf type.
Refrigerator Storage
Refrigeration is one of the most common mistakes with homemade bread. The fridge can slow mold growth in some conditions, but it also accelerates staling through starch retrogradation — the same molecular process that makes bread go stale at room temperature, but significantly faster at cold temperatures.
The result: a loaf that technically lasts longer before molding, but becomes progressively drier and denser after a day or two in the fridge. For homemade bread where texture matters — a sourdough crust, a soft enriched crumb — this tradeoff is rarely worth it.
Refrigeration makes more practical sense in warm, humid kitchens where mold appears sooner, or or when you need to hold bread beyond the normal room-temperature eating window. In most home baking situations, room temperature storage or freezing serves better.
Freezer Storage
Freezing is underused by home bakers and is often the best solution for the specific problem homemade bakers face: baking one or two loaves at once and not finishing them quickly enough.
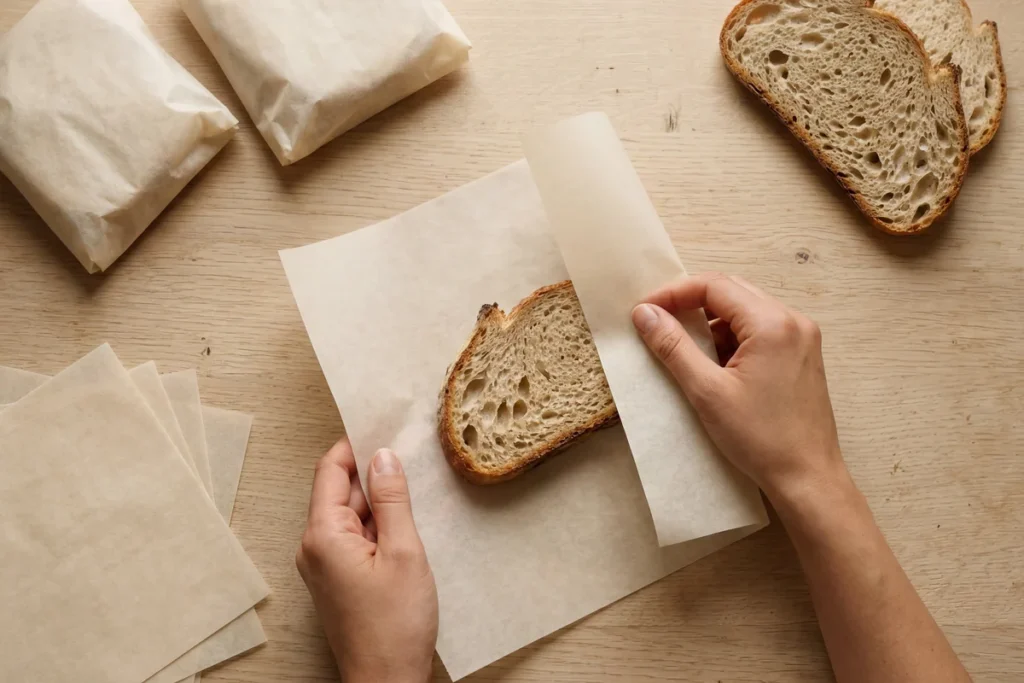
Slice the bread before freezing — individual slices can go directly from freezer to toaster without thawing. For whole slices or portions, wrap tightly in plastic wrap or foil before placing in a freezer bag. This double-wrapping reduces freezer burn. Thaw slices at room temperature for 15–30 minutes, or toast directly from frozen for a crust that can be nearly as good as fresh.
Freezing slows the staling process dramatically and is usually the best option for bread you won’t eat shortly after baking. If you bake on weekends and want better-textured slices by Wednesday, freeze the bulk of the loaf on baking day rather than storing it at room temperature and accepting lower quality later in the week.
Why Homemade Bread Stales Faster Than Store-Bought
Commercial breads contain ingredients specifically designed to slow staling: emulsifiers, enzymes, and added sugars that bind water in the crumb and slow moisture loss. Homemade bread — whether a simple white loaf, whole wheat, or a sourdough — typically has none of these. Water, flour, yeast or starter, salt. That’s the complete ingredient list for most home-baked loaves.
Without those additives, two processes begin immediately after baking. Moisture evaporation — water vapor escapes through the crust continuously, drying the crumb over time. And starch retrogradation — the starch molecules that gelatinized during baking slowly reorganize back into a crystalline structure, which is what causes the familiar dense, dry texture of stale bread. Retrogradation happens at all temperatures but is fastest between 0°C and 10°C — exactly the range of a standard refrigerator. It almost completely halts at freezer temperatures.
Understanding how to store homemade bread properly starts with knowing why it stales differently from commercial loaves. One practical detail specific to homemade bread: dense, high-hydration loaves (like whole wheat or rye) hold moisture longer than airy white loaves. Enriched breads with butter, eggs, or milk stale differently from lean doughs. There’s no single storage rule that covers all homemade bread, but the general principle — cool completely before storing, use breathable materials at room temp, freeze anything you won’t eat soon — applies across most loaf types.
How long does homemade bread last?
Duration varies by loaf type, kitchen conditions, and storage method. Dense whole grain loaves and sourdoughs tend to hold their texture longer than airy white loaves. Homemade bread generally lasts a shorter time than commercial bread because it contains no preservatives. Room temperature in a breathable bag or wrapped cloth gives the best eating quality for short-term storage; freezing is better for anything beyond a few days.
Should I store homemade bread in the fridge?
For most homemade loaves, the fridge is not the first choice. Refrigeration slows mold growth but significantly accelerates staling through starch retrogradation — the crumb becomes denser and drier faster than at room temperature. It makes more practical sense in warm or humid kitchens where mold is a faster concern, or when the loaf needs to be held for an extended period. For everyday eating where texture matters, room temperature or freezing typically gives better results.
Can I freeze homemade bread?
Yes — and for most home bakers who bake one or two loaves at a time, freezing is the most practical solution for preserving quality. Slice the loaf before freezing so individual slices can go directly into a toaster. Wrap tightly before placing in a freezer bag to reduce freezer burn. Slices thaw at room temperature in 15–30 minutes or can be toasted directly from frozen.
Why does my homemade bread crust go soft overnight?
Softening crust is a moisture migration issue. After baking, the crumb holds significantly more moisture than the crust. As the loaf cools and sits, moisture migrates outward from the crumb toward the drier crust. Storing in plastic accelerates this by trapping the moisture against the exterior. Breathable storage — cloth, linen, or a beeswax-lined cotton bag — allows some vapor to escape slowly rather than recondensing on the crust interior.
What’s the best way to revive stale homemade bread?
Lightly dampen the exterior crust with water, then heat in an oven at 350°F (175°C) for several minutes until the crust crisps. This can rehydrate and temporarily refresh the texture. Works best within a few days of baking — once significant staling has occurred, results vary by loaf. For frozen bread, toasting from frozen often produces better results than reviving stale room-temperature bread.
Why Breathable Storage Makes a Difference for Homemade Bread
The central challenge with homemade bread at room temperature is managing the rate of moisture loss — slow enough that the crumb doesn’t dry out, fast enough that condensation doesn’t build up against the crust. Plastic fails the second condition. Open air fails the first. A breathable material tries to find the middle.
Beeswax-lined cotton combines two functional layers. The cotton base is breathable, allowing some vapor exchange. The beeswax coating slows that exchange — enough to reduce rapid evaporation, not so much that trapped moisture makes the crust damp. This makes it useful for the short-term room-temperature window after baking, especially when you want to work through part of the loaf and freeze the rest.
This differs from linen or uncoated cotton, which may dry loaves faster in low-humidity conditions, and from sealed plastic, which traps moisture and consistently softens the crust within a day or two.
Talorne’s beeswax bread bag is being developed with heavyweight 8-ounce cotton and a beeswax-based food-contact lining, with food-contact documentation being reviewed as part of the launch process. It’s designed for repeated use with gentle care — a reusable alternative to plastic or paper bags for home bakers who want a more breathable storage option. When available, we’ll add the product link to this guide.
For homemade bread, beeswax-lined cotton bags offer breathable counter storage — see our guide on beeswax bread bags.
For a focused verdict on the single best storage method for sourdough, see our guide on the best way to store sourdough bread.
Related Bread Storage Guides
If you bake sourdough specifically, storage works differently from yeasted homemade bread — the fermentation and natural acidity change how the loaf holds moisture and resists mold. See our complete guide on how to store sourdough bread.
For a broader breakdown of what affects freshness across all bread types — commercial and homemade — including the science behind staling and how different storage materials compare, see our guide on how to keep bread fresh.
For a focused verdict on the single best storage method for sourdough, see our guide on the best way to store sourdough bread.
For a direct comparison of how bread boxes and bread bags each handle moisture and crust, see our bread box vs bread bag guide.
Pingback: How to Store Sourdough Bread (Without Ruining the Crust)
Pingback: How to Keep Bread Fresh Longer (Without Ruining Texture)
Pingback: Beeswax Bread Bag: How It Works and What to Look For
Pingback: Do Bread Boxes Work? Bread Box vs Bread Bag Compared